Key Takeaways
- Ultraviolet radiation is the primary driver behind oxidation, chalking, and color loss on vehicle finishes
- Washing with the two-bucket method and pH-neutral soap prevents the micro-scratches that accelerate dullness
- Clay bars remove bonded contaminants that regular washing cannot touch, prepping the surface for correction
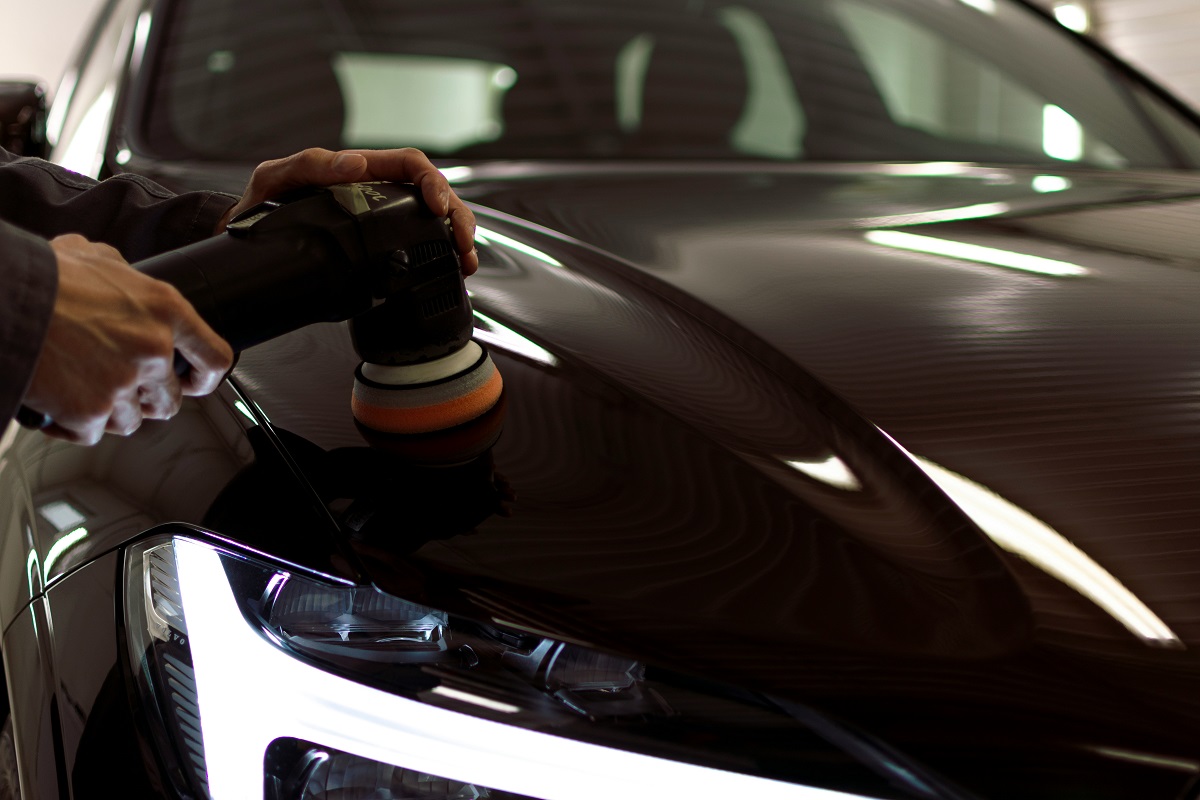
- Polishing with a dual-action machine cuts through oxidized clear coat and revives depth and gloss
- Sealants, waxes, and ceramic sprays form sacrificial layers that extend the life of corrected paint
- Garaging the vehicle and using quality protection can double the lifespan of a factory finish
- Knowing when damage has reached the base coat is essential before deciding to DIY or call a professional
Something interesting has happened in driveways across the country over the past few years. Weekend garages are filling up with foam cannons, orbital polishers, and bottles of ceramic spray. What used to be the exclusive domain of professional detailers has become a serious hobby, and in many cases, a practical skill for everyday car owners.
Part of the shift is economic. A full professional paint correction can run several hundred to several thousand dollars depending on the vehicle and condition. But cost is only one piece of the story. Online tutorials, enthusiast forums, and the sheer accessibility of pro-grade products have lowered the barrier to entry dramatically. People are discovering that caring for their own paint is satisfying, meditative, and genuinely effective.
Industry data backs up what you can see on YouTube every weekend. According to MarketsandMarkets, the fastest-growing segment in car care is DIY, expanding at a 3.1% CAGR, driven largely by e-commerce putting ceramic sprays, foam cleaners, and rinseless washes directly into consumer hands. The tools are no longer gatekept.
What Actually Causes Paint to Fade?
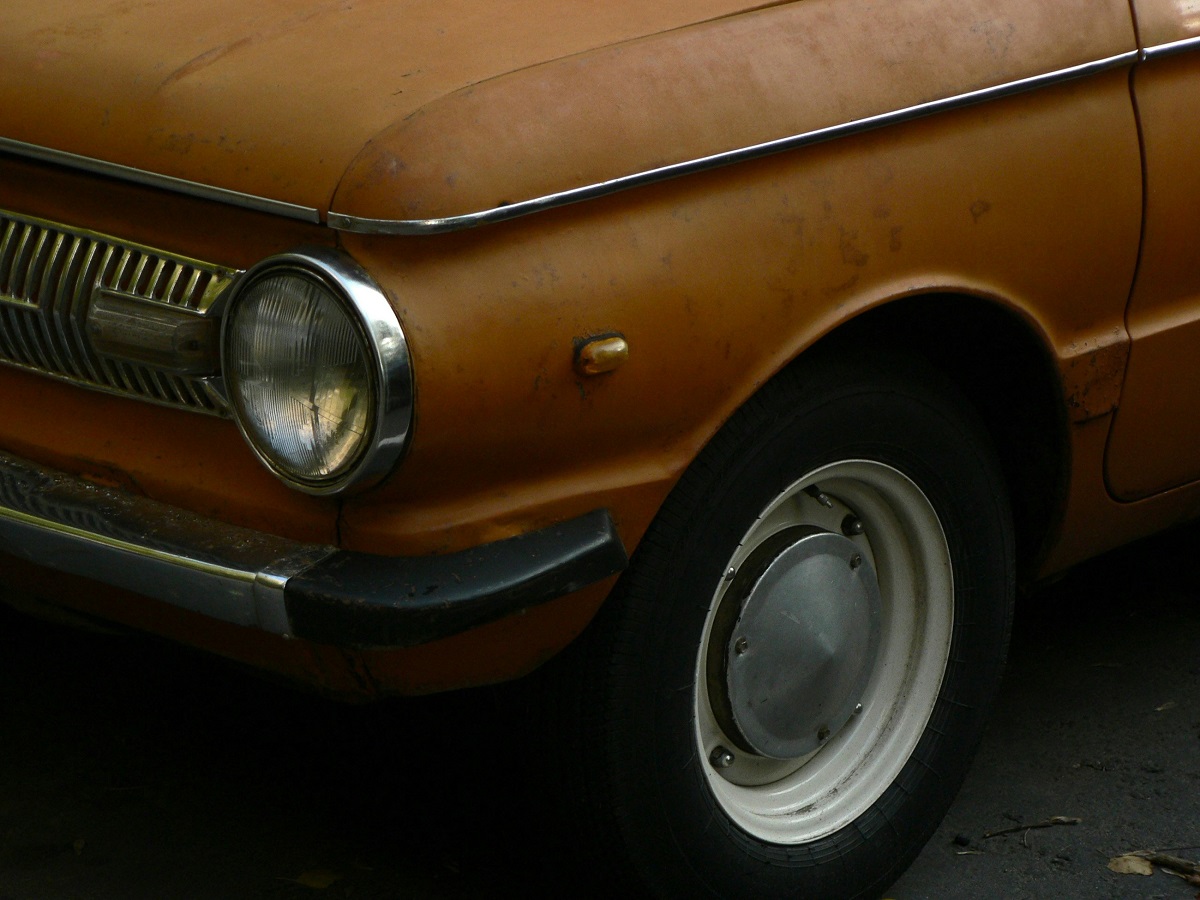
Before you can fix a dull finish, it helps to understand what you are fighting. Modern automotive paint is a layered system: primer, base coat (the color), and clear coat (a transparent protective layer). The clear coat is what takes the beating. When paint looks faded, chalky, or lifeless, the damage is almost always sitting in that top layer.
Ultraviolet radiation is enemy number one. Sunlight breaks down the resins in clear coat through a chemical process called photodegradation. Over time, the molecular bonds weaken, the surface becomes porous, and oxidation sets in. Add heat, acid rain, bird droppings, tree sap, and road salt into the mix, and you have a steady assault on the finish. According to Dayton Detailing, after a single year of continuous UV exposure, paint can lose roughly 10 to 20 percent of its color intensity. That is a sobering number for anyone who parks outside.
The Role of Climate and Parking Habits
Where you live and how you store your vehicle matter enormously. Cars kept in high-UV regions like the Southwest degrade faster than those in temperate northern climates. Research cited by Titan Coatings pointed to a 2021 study tracking more than 10,000 vehicles in high-UV areas, which found that consistent sun exposure can cut a paint job’s lifespan by as much as 50 percent. Shade, garages, and even a basic car cover can meaningfully extend the life of your finish.
The Smart Approach to How to Restore Faded Car Paint
Here is where enthusiasm needs to meet method. A rushed restoration can do more harm than good, especially if you grab the wrong product or skip prep steps. The correct sequence is wash, decontaminate, correct, and protect. Each stage builds on the last, and skipping ahead is the fastest way to swirl marks and burned clear coat. Think of it like refinishing a piece of fine furniture: you would never start sanding before stripping away old grime, and you would never apply a top coat over a dirty surface. The same discipline applies to any serious car restoration project, whether you are reviving a daily driver or breathing new life into a weekend classic.
The first and most important truth about how to restore faded car paint is that most “faded” finishes are not actually destroyed. They are oxidized. The top few microns of clear coat have dulled, and underneath that haze is still-usable paint. Polishing removes that microscopic damaged layer and reveals the healthy coat below. If you have ever seen a before-and-after video where a car transforms from gray and dead to glossy and deep, that is polish doing its job. The chalky, lifeless look that makes an older vehicle appear beyond saving is often just a few passes with the right compound away from being deep, wet, and reflective again. That said, there are limits. If you can see primer bleeding through or large sections where the clear coat has flaked away, polishing alone will not save it, and you are looking at a repaint rather than a correction.
A proper DIY correction workflow typically includes these stages:
- Thorough wash using the two-bucket method and a pH-neutral shampoo, with separate mitts for the lower panels where grit is heaviest
- Iron and tar removal with chemical decontaminants that dissolve brake dust and road fallout the shampoo cannot touch
- Clay bar treatment, or a clay mitt alternative, to pull bonded contaminants off the surface so the paint feels like glass before polishing
- Machine polishing with an appropriate compound and pad combination, typically starting with the least aggressive combo that gets the job done
- Application of a sealant, wax, or ceramic coating for long-term protection against UV rays, bird droppings, and environmental fallout
Each of these steps has its own learning curve, and skipping any one of them tends to show up later as hazing, holograms, or quickly returning dullness. The patient approach almost always delivers better results than expensive products used in the wrong order.
Tools and Products Worth Buying for the Job
You do not need a professional detailer’s full arsenal to get excellent results, but you do need the right basics. Buying cheap tools often costs more in the long run because you end up redoing work or damaging the finish. Think of this as a one-time investment that will serve you for years of car restoration projects on multiple vehicles.
A dual-action (DA) polisher is the single most important purchase. Unlike rotary polishers, which spin on a fixed axis and can easily burn paint in the hands of a beginner, DA polishers oscillate in a random pattern that is far more forgiving. Pair the machine with a few pads of varying aggressiveness and a quality compound and polish, and you have the foundation for serious correction work.
Products That Actually Earn Their Price
Not every bottle on the shelf is worth your money. Prioritize these categories:
- A quality dual-action polisher from a reputable brand
- Microfiber towels in multiple weights for different stages
- A clay bar or clay mitt with lubricant spray
- Cutting compound and finishing polish, matched to your paint hardness
- A long-lasting sealant or entry-level ceramic coating
- Nitrile gloves and painter’s tape to protect trim
MarketsandMarkets also notes that consumers are increasingly reaching for easy-to-use products designed for regular upkeep, which explains why spray sealants and all-in-one ceramic products have exploded in popularity. They lower the learning curve without sacrificing much performance.
Step-by-Step: Bringing Back the Shine
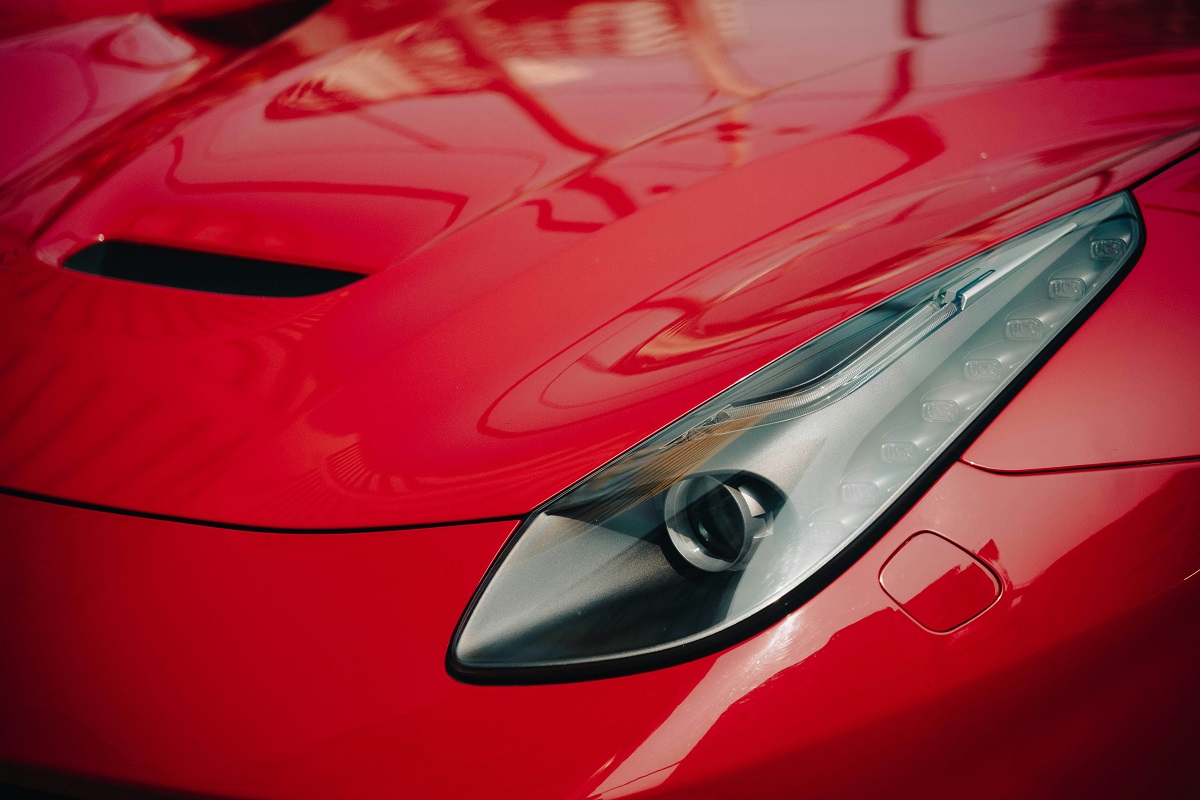
Set aside a full day for your first attempt. Rushing is how mistakes happen, and paint correction punishes impatience more than almost any other part of car restoration. Work in a shaded area, ideally with the paint cool to the touch, because polish dries too quickly on hot panels and can be difficult to remove. A garage with the door open, a carport, or even the shady side of the house in the early morning will all work better than an open driveway at noon. If you can run a box fan to keep air moving across the panels, even better, since stagnant heat under direct sun can flash-dry compound into a chalky film that fights you every step of the way.
Start by washing the vehicle twice. The first wash removes loose dirt, bug splatter, and the top layer of road grime that would otherwise grind into the paint during polishing. The second, done with fresh soap and clean mitts, catches anything you missed and gives you a true baseline to inspect. Use the two-bucket method with grit guards, and rinse your mitt frequently. Dry with a plush microfiber towel, working from the top of the vehicle down, and resist the urge to drag the towel across the surface — blot and lift instead. Then run your fingertips, protected inside a plastic sandwich bag, across the paint. The bag amplifies texture you cannot feel with bare skin. If it feels rough, bumpy, or gritty, you need to clay. A clay bar glides across the surface, picking up embedded brake dust, industrial fallout, tree sap residue, rail dust, and overspray that washing alone leaves behind. Keep the surface well-lubricated with detailer spray and work in small sections, folding the clay often to expose a clean face. If you drop the bar, throw it away — a single piece of grit on contaminated clay will put swirl marks into the paint faster than almost anything else.
Once the paint is glass-smooth, it is time to polish. Tape off plastic trim, rubber seals, badges, and emblems using quality automotive masking tape, because compound stains textured plastic almost instantly and is nearly impossible to remove once it dries into the grain. Prime your polishing pad with a few pea-sized drops of compound, spread the product across a two-foot-square section at low speed to avoid flinging it across the garage, then crank the machine up and work in slow, overlapping passes — typically four to six passes in a crosshatch pattern, moving the polisher about one inch per second. Let the polisher do the work rather than pressing down hard; the weight of the machine itself is usually enough, and leaning into it only generates excess heat and risks burning through the clear coat on edges and body lines. After four or five passes, wipe the residue with a clean microfiber and inspect under good lighting. A handheld LED swirl-finder light or even a cheap flashlight held at a low angle will reveal what overhead shop lights hide. You should see noticeably deeper color and reflection, with scratches and oxidation visibly reduced or gone.
If the first pass with compound did not fully remove the oxidation, repeat it, perhaps with slightly more pressure or a more aggressive pad. Stubborn horizontal surfaces like the hood, roof, and trunk lid typically take the most abuse from the sun and often need two full passes before they match the sides of the car. If the finish looks hazy but clear — a condition called compound haze or micro-marring — switch to a finishing polish on a softer foam pad to refine the gloss and bring out that wet, mirror-like depth. This two-step approach, cut then refine, is what separates a true correction from a quick cover-up and is the single biggest reason professional-level results are achievable at home when you learn how to restore faded car paint properly rather than masking the damage with glaze or filler products.
Protecting Your Work So It Lasts
All the polishing in the world will not matter if you leave bare, corrected paint exposed to the elements. Fresh clear coat without a protective layer oxidizes faster than you might expect. The final step is sealing in your results.
You have three main options, each with different durability windows:
- Carnauba wax: warm glow, easy to apply, lasts roughly six to eight weeks
- Synthetic sealant: slick and durable, typically good for four to six months
- Entry-level ceramic coating or spray: hydrophobic and glossy, lasting six months to two years depending on the formula
Apply protection in thin, even layers to a cool panel in a dust-free area. Follow the flash time listed on the bottle, then buff with a fresh microfiber. Resist the urge to layer too thick, which causes streaking and uneven cure. Maintenance matters just as much as the initial application. A quick rinseless wash every couple of weeks and a top-up spray sealant will keep that corrected finish looking fresh far longer than a one-and-done approach. If you are also restoring your vehicle after a period of neglect or storage, protecting the paint should be the final step after mechanical and interior work is complete.
Reviving a Dull Finish Without Overdoing It
One of the most common beginner mistakes is going too aggressive too fast. Clear coat is thinner than people realize, often only around two mils thick, and every heavy polish pass takes a measurable slice off the top. If you compound a car every six months, you will cut through to the base coat within a few years.
The smart philosophy is to start with the least aggressive combination that gets the job done. Try a finishing polish on a soft pad first. If that is not enough, step up to a medium polish on a cutting pad. Only reach for heavy compound when oxidation is severe. Your paint will thank you years down the road.
Knowing When to Call a Professional
DIY has limits, and recognizing them is a sign of experience, not weakness. If you can see white or primer gray through a worn panel, the clear coat is already compromised and no amount of polishing will bring it back. At that point, you are looking at repainting or wrapping the affected area.
Deep scratches that catch a fingernail, cracked and peeling clear coat, and large sections of base coat exposure all fall outside the DIY wheelhouse. Trying to polish through these problems typically makes them worse and shortens the life of what paint remains. A professional with a paint depth gauge and years of correction experience can safely push a borderline finish further than a weekend hobbyist should attempt.
For everything short of that, though, the modern enthusiast has everything needed to produce stunning results at home. The products are accessible, the techniques are well-documented, and the satisfaction of standing back and seeing your own reflection in paint you brought back from the brink is hard to overstate.
Wrapping It Up
The rise of driveway detailing is not just a passing trend. It reflects a broader shift in how people relate to the things they own, choosing to understand and maintain their vehicles rather than outsource every bit of care. Paint correction, once mysterious and intimidating, is now a weekend project that thousands of people tackle successfully every year.
The key is patience and sequence. Wash properly, decontaminate thoroughly, polish carefully, and protect consistently. Skip any one of those steps and the results fall short. Respect the thinness of clear coat, start gentle, and only escalate when the paint truly needs it. Done right, a single correction session can take a tired, hazy car and leave it looking better than it has in years.
Whether you are chasing a show-ready shine or simply trying to preserve the value and appearance of a daily driver, the tools and knowledge are within reach. Grab a polisher, carve out a Saturday, and see what is hiding under that dull surface. The transformation often surprises even the person doing the work.
About the Author